Recipes, people, places and things we love — every month. Head to Substack to support our work. Visit  Later

Milk Recipes

Homemade coconut milk from mature coconuts

Prep time 25 minutes
yields 4 cups

Photography by Tracey Creed
Assisted by Amandine Paniagua
Recipe by Tracey Creed and Amandine Paniagua
Words by Amandine Paniagua


Recipe best prepared all year

Published May 17 2019
Updated December 28 2019

Ingredients

1 mature coconut
3 cups filtered water

Method

The first step is to drain the coconut from its water. Using a sharp tool, like a knife or a screwdriver, carefully pierce one or two of the pores on the top of the shell. Drain the water from the coconut into a bowl and set it aside in the fridge.

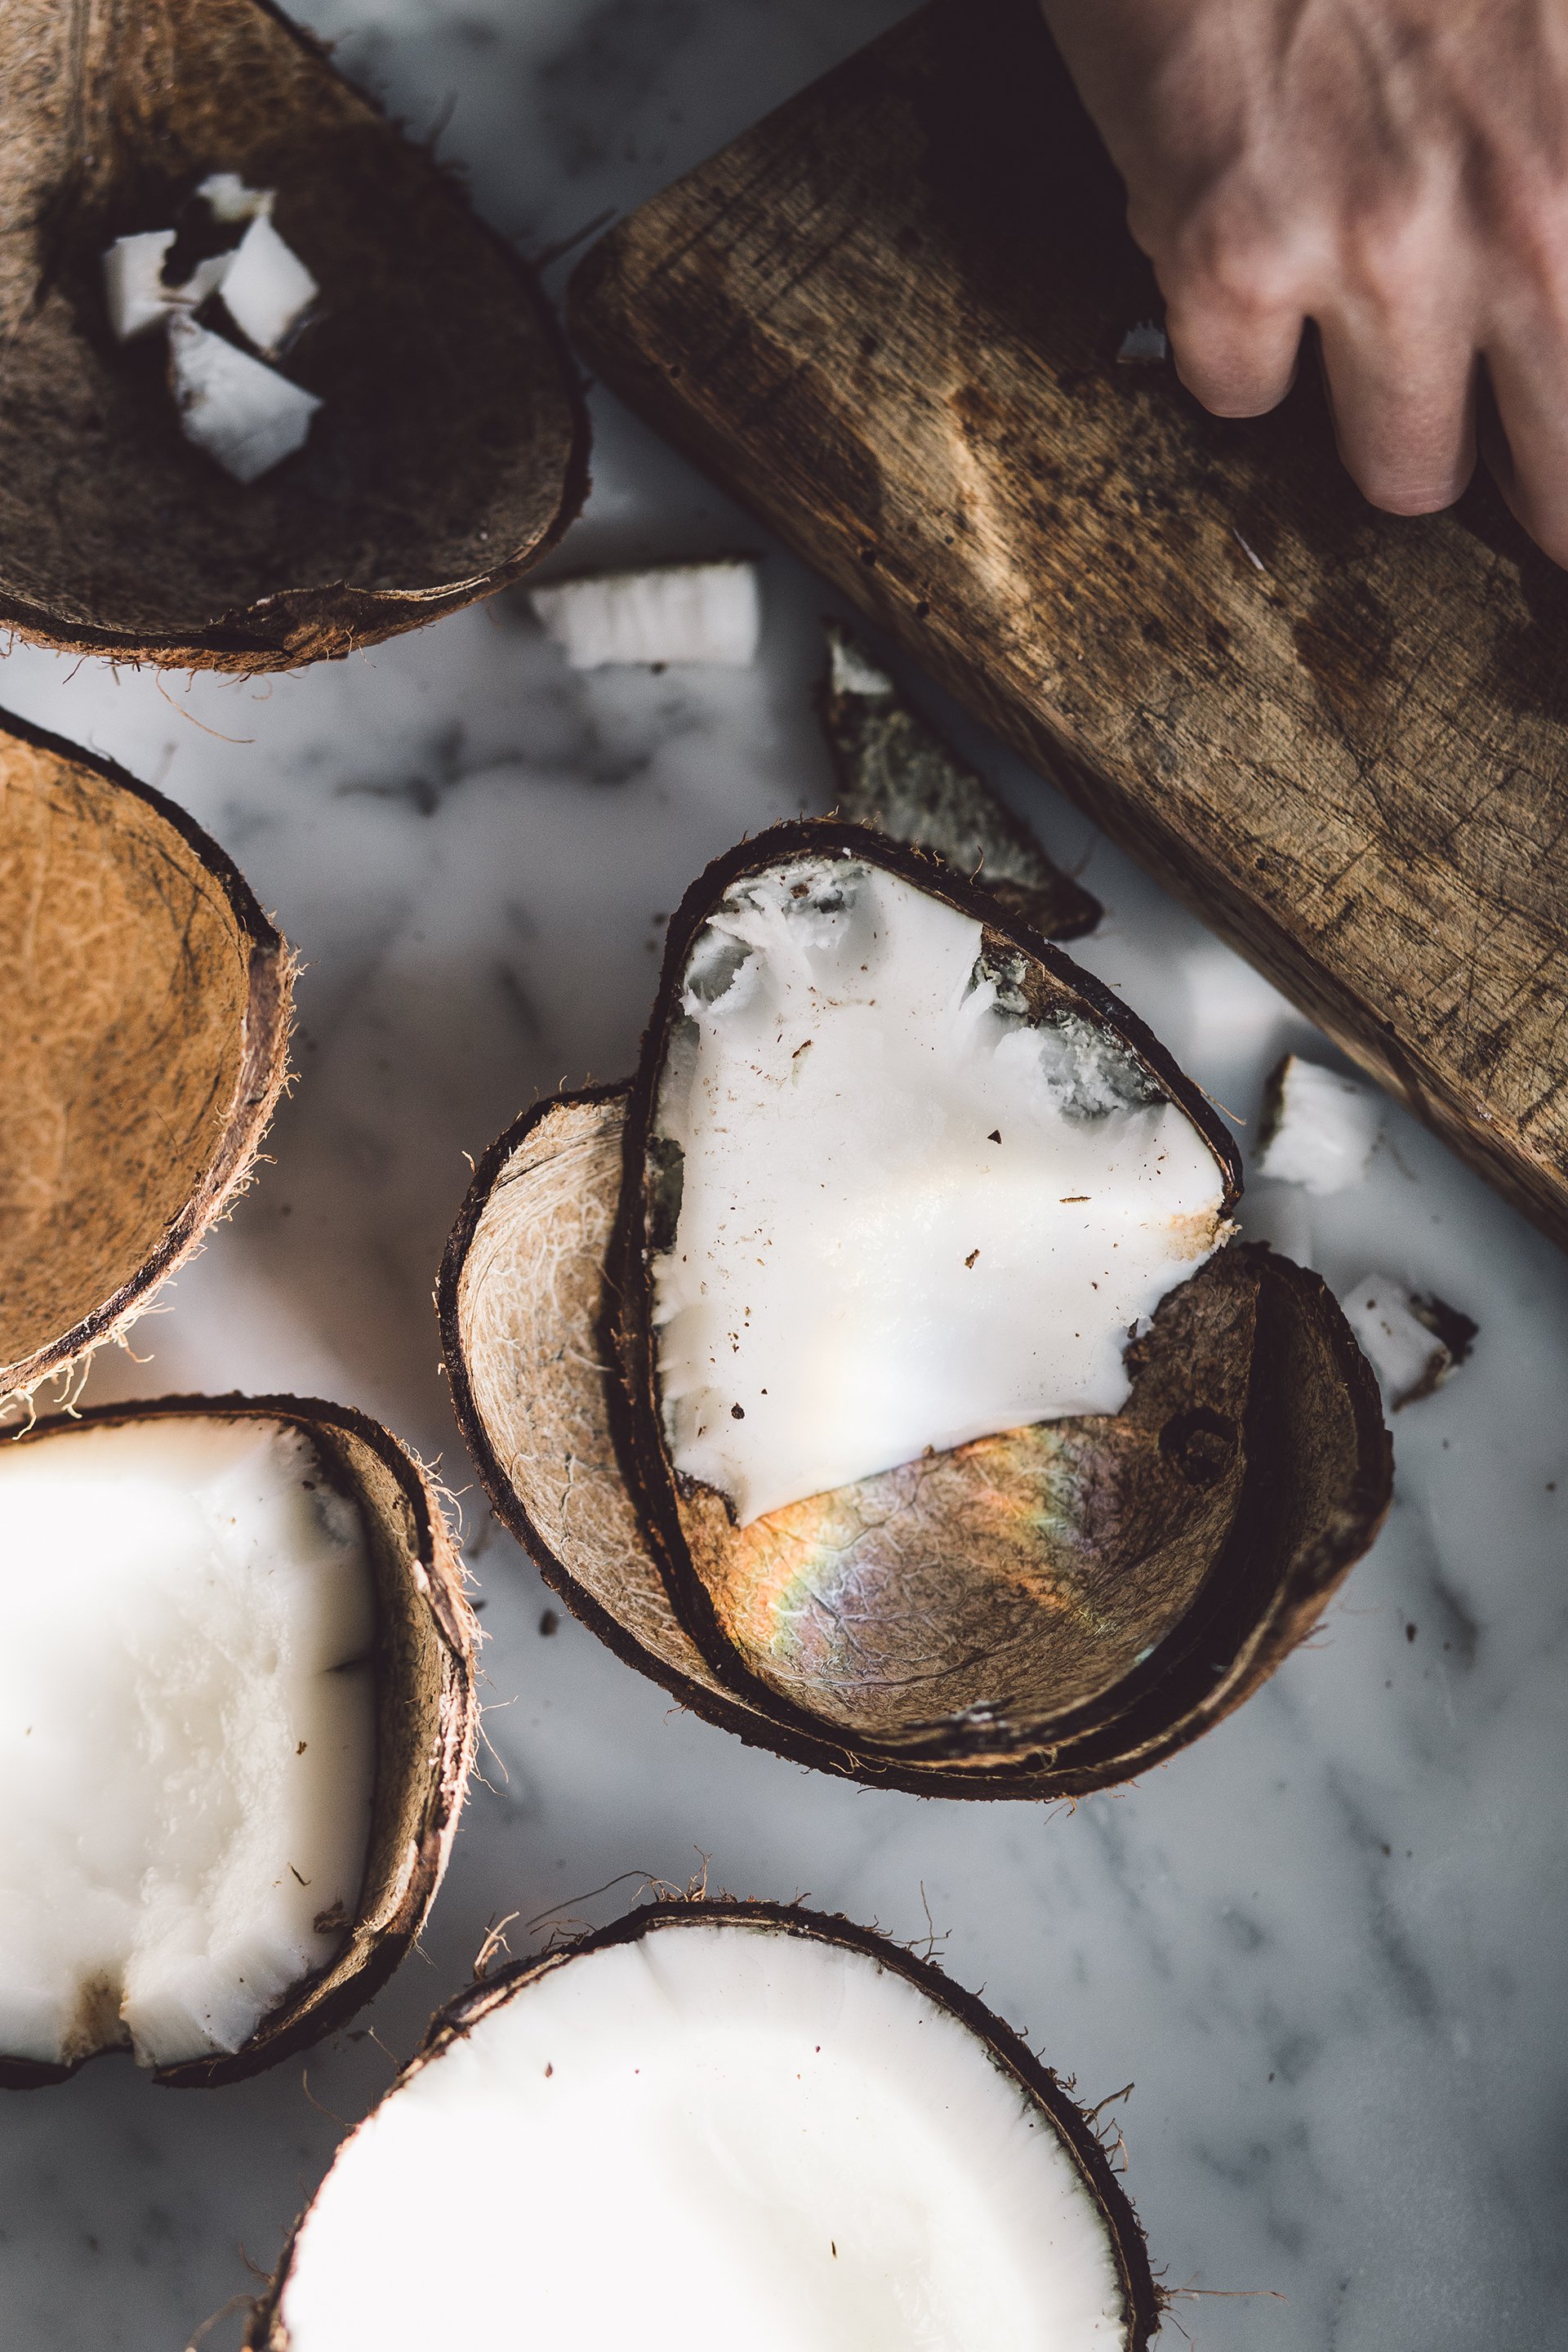
Split the coconut prudently by cracking one face against a hard surface. Few attempts might be needed.

Once opened, using a butter knife, take off the kernel meat from the inner husk, there is no need to peel the brown bits of skin adhering to the meat. Discard the shell.

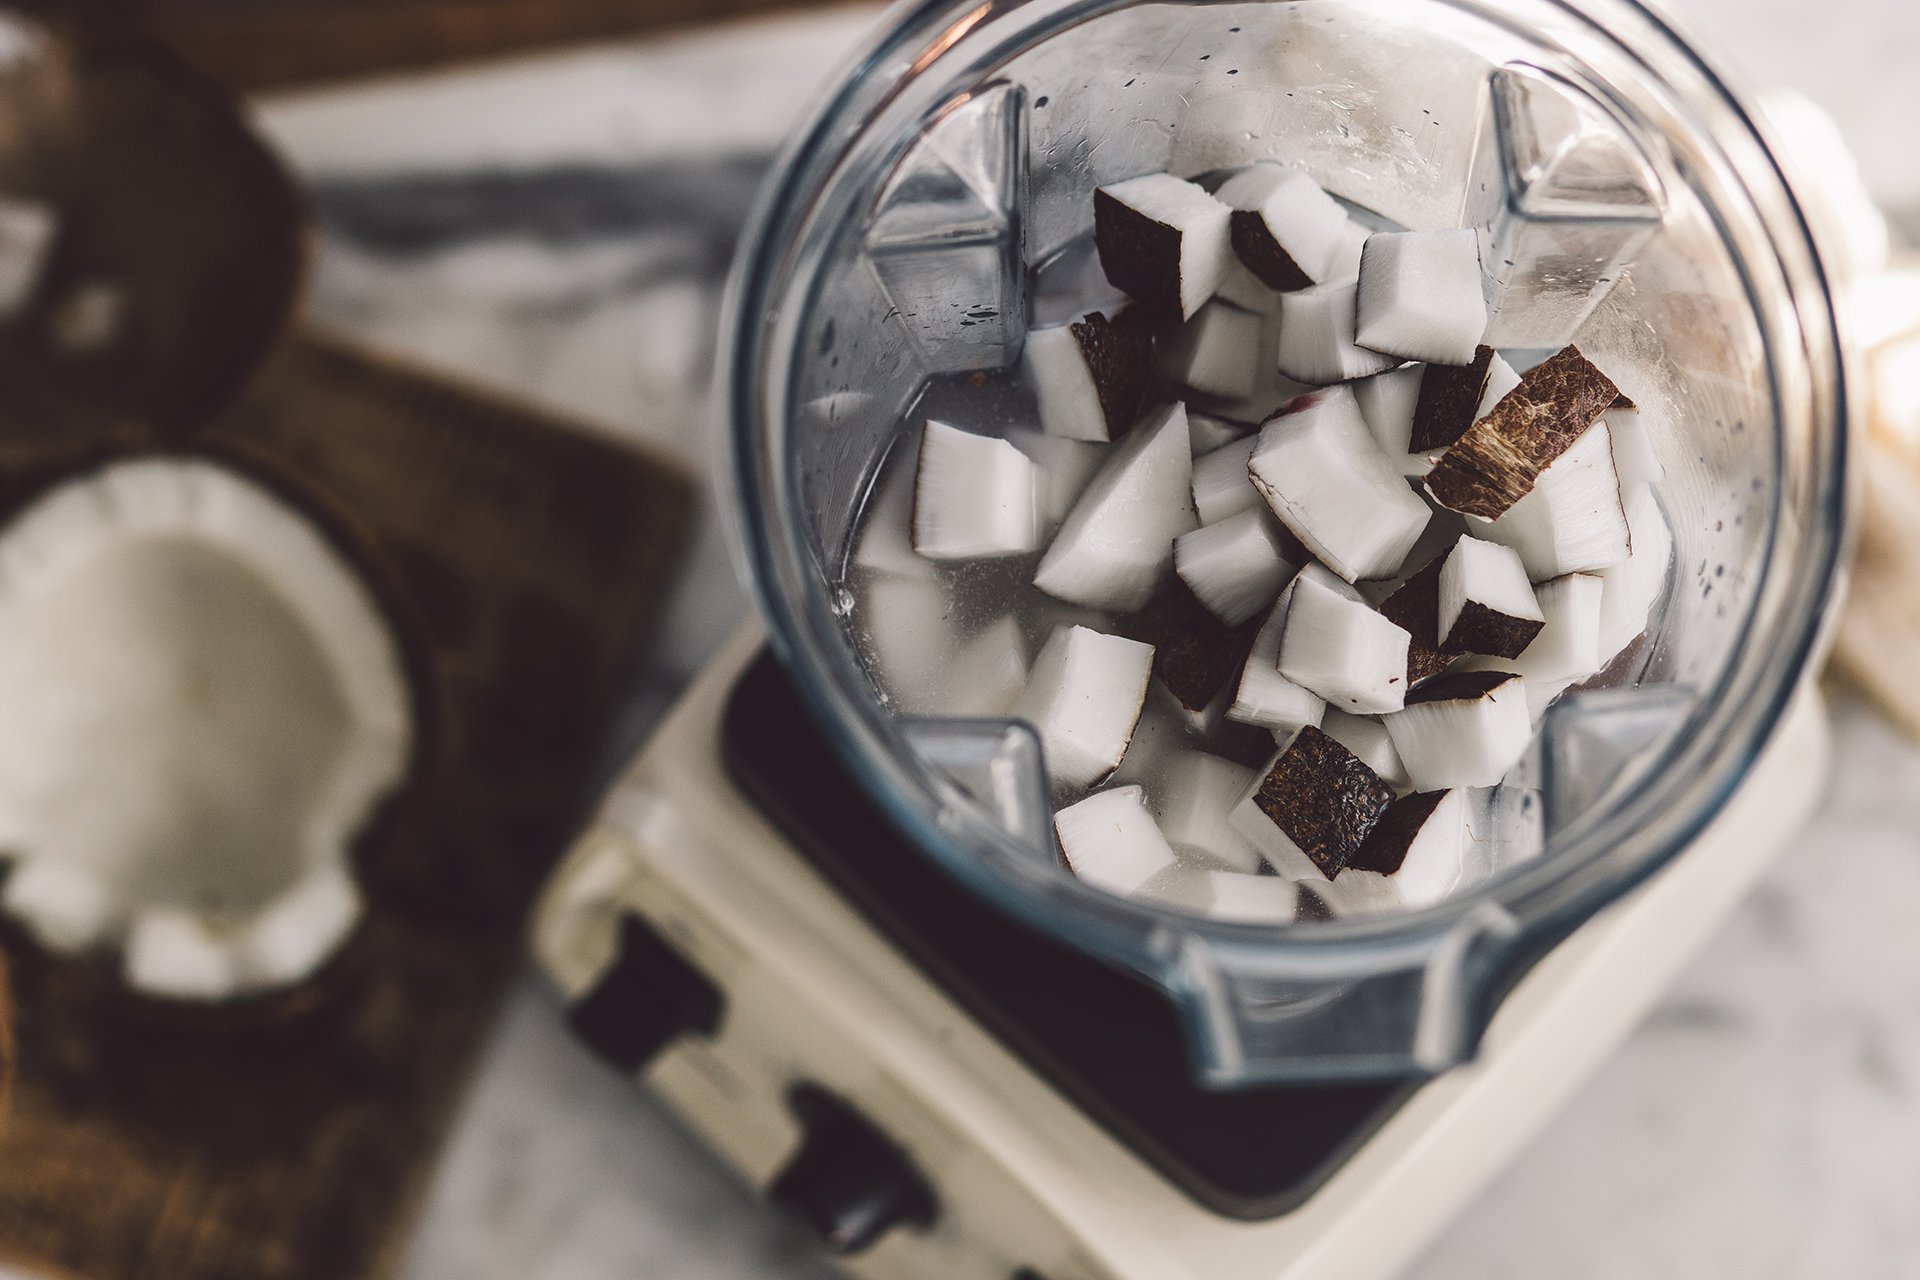
Roughly chop the flesh into shards, place the fragments in a blender and add 3 cups of filtered water. Process until you obtain a lumpy smooth mixture.

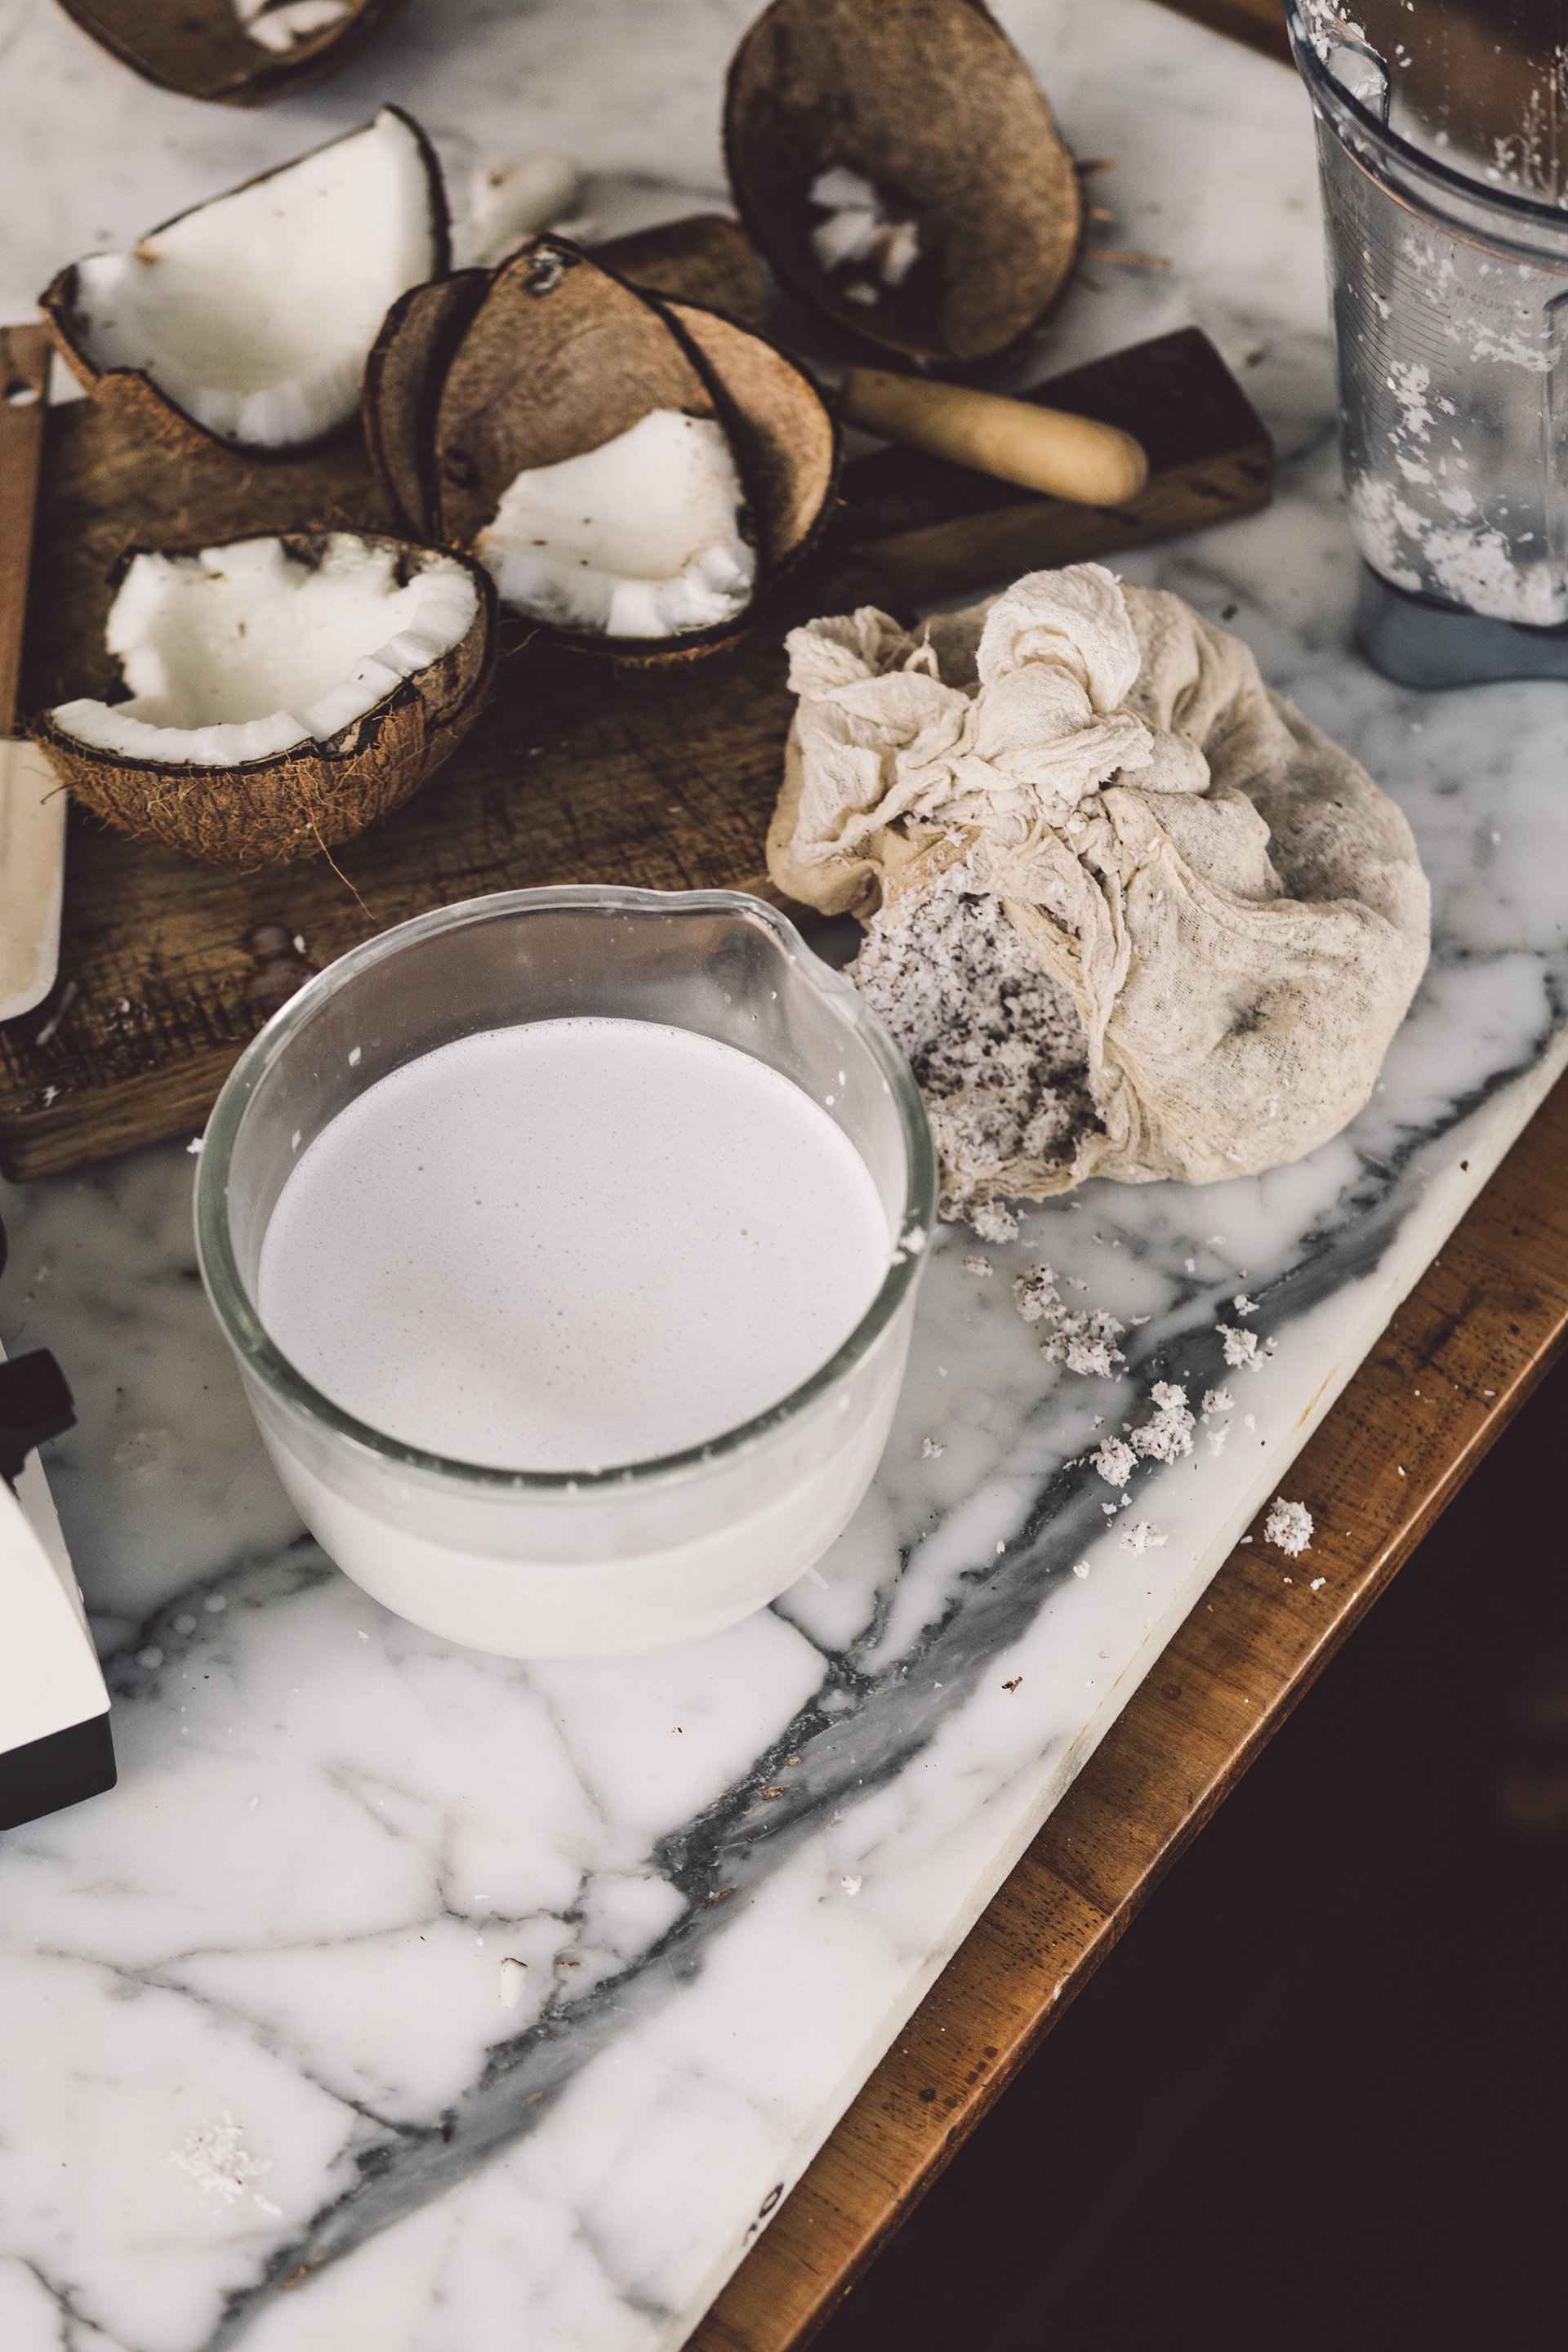
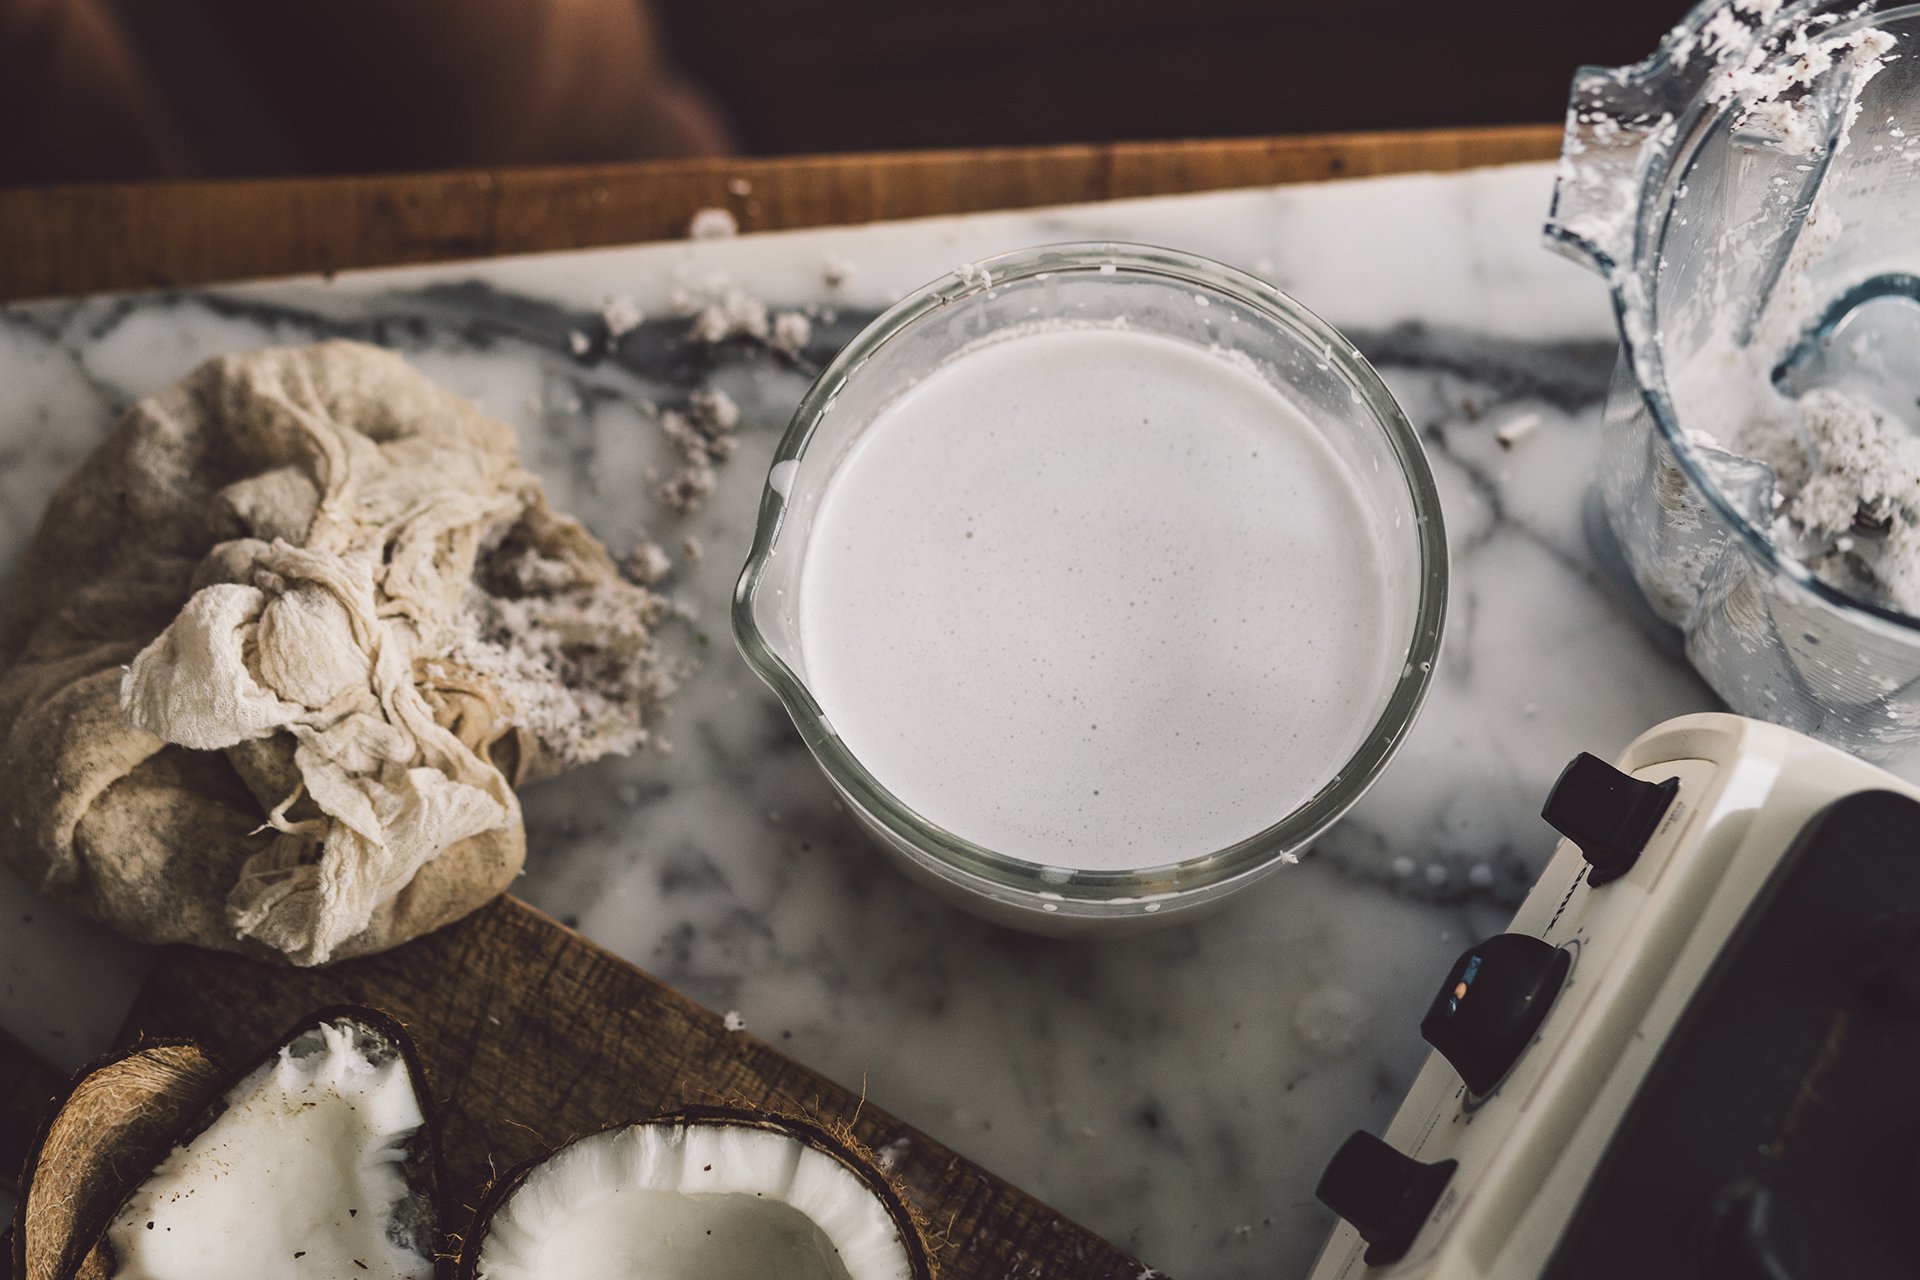
Pour the coconut mixture through a nut milk bag and filter into a bowl, squeezing out as much liquid as possible. Transfer the milk into sealable jar or bottle.

The liquid will separate after a while in the fridge, shake your bottle before using, it will instantly merge again without lumps. This milk will keep up in the fridge 4-5 days.

The dreamy coconut milk that will make you forget traditional cow milk

This coconut milk made from mature coconut is simple yet delicious. I like its thickness, almost creamy texture, the taste is stronger, fragrant, well balanced between sweet and savoury, with body-loving fat. I don’t drink coffee, and I am not a huge fan of tea, this milk is perfect to kick-off my day drinking a fresh cup mixed with cacao.

When I started eating more plant-based, becoming increasingly aware of the issues surrounding the dairy industry - milk was the first animal product I removed from my diet. I found coconut milk the more respectable replacement, although making my own was problematic - watery and flavourless. The packaged Tetra version? Expensive and equally wasteful, purchasing an industrial product, essentially contributing to global issues I care deeply about.

This coconut milk is surprisingly one of the easiest recipes I ever made, requires roughly 30 minutes preparation, you will obtain an exquisite drink, adjustable to your tastes and recipe requirements. Our coconut produced approximately 2 cups flesh, mixed with 3 cups water, similarly 1 cup flesh to 1½ cups water, providing fresh cow milk consistency. Amazing in coffee, steaming well or for milk chocolate. In the meantime, there are other ratios when seeking different beverage consistencies: optimal milk for desserts, curry, ice cream, basically canned coconut milk; combine 1 cup flesh with 3/4 cup hot water. For Tetra consistency, for light drinks or smoothies, 1 cup coconut to 2 cups water would be ideal.

And the benefits add up: at the time of writing, our local produce supplier Garden For The People sold these coconuts for NZ$3 which yield 1 L of milk when similar quality coconut milk in New Zealand is at least $2 more. Certainly a bonus, there is no need to worry about packaging either. Recipes such as this coconut milk are literally life changer when you struggle between budget, zero waste commitment and eating quality ingredients. We hope you enjoy this homemade coconut milk as much as we did.

Working with raw ingredients like coconuts requires additional preparation, albeit worth the effort. To open your coconut, first identify the three coconut pores similar to brown circles placed on top of the seed. To pierce the pores we found best to use a Phillips screwdriver, coupled with a hammer to help push the screwdriver further into the shell. Piercing two pores will start the coconut water flowing.
Afterwards, observe the structure of the seed before breaking the coconut: from the pores, you will see two lines. These lines signal the weakest part of the shell; best chances are the coconut would crack there. Clutch the coconut placing your middle finger under one pore, alongside the shell line, and firmly bang the opposite side of the coconut against a hard surface. Extra care is required when hitting the surface; your coconut could break on both faces, including where your hand is placed, it happened to me. Benoit learnt these techniques from a local while travelling in Aitutaki, Cook Islands so we stuck to it since then, regardless there are different methods

Finally, to remove the white flesh from the inner shell, place a butter knife between the white and brown parts, push and roughly peel. A thin brown layer covers inner flesh, there is no need to peel these bits of skin, it adds extra fibre. Also, when the coconut starts rotting the kernel meat wouldn’t remove well, the bottom flesh against the shell would turn green, this happened to us too. In this instance, better to discard.

What can you do with your remaining coconut?

Coconut is a complete resource, and as such, making this recipe will produce no packaging waste, any residual coconut being compostable or useful. You can choose to throw remainings into your compost bin or find inspiration with the advice below.

Reserve the coconut water. Depending on the age of your coconut it will produce at least a glass of coconut water. Either drink that fresh or reserve for smoothies or overnight oats.

Use the coconut pulp as a fibre booster. Once you have strained your coconut milk reserve the pulp in a glass jar in the fridge for use in smoothies, porridge, overnight oats, Bircher or even curries. Coconut pulp is high in fibre and contains less fat than desiccated coconut; it ticks all the boxes!

Make your own coconut flour. In addition to producing coconut milk, blending and filtering fresh coconut flesh with water creates a juicy coconut pulp. You can dry that pulp out with a dehydrator, or at low temperature in your oven. Then, using a food processor or blender, you can create coconut flour which is fantastic for baking.

Making use of the coconut husk. Composting the husk in your garden compost bin is one option. Otherwise, once dried, it is also useful as a charcoal fire starter. Also, if your coconut shell is hairy, we learned in Samoa how to make use of that dry fibre. Traditionally, Samoans form a sponge with the husk hairs, essentially creating a hairball to filter fresh coconut flesh to make coconut cream. Afterwards they use the hairball to exfoliate their bodies. Smooth skin guaranteed!

Everything we create is an effort to participate in a culture shift. All products featured are independently selected and curated by the authors, and we only feature items we use or would use ourselves that align with our values. As part of our business model, we do work with affiliates such as Amazon. As an Amazon Associate, we earn from qualifying purchases if you decide to purchase through our links. The price would be the same to you either way, but if you find value in our work, then these affiliate links are a way to support it. We only recommend brands, makers and products we use - that we support. Transparency is important to us, so if you have any questions, please reach out to us.

Dive deeper

© LAGOM 2024, All rights reserved